HTML JavaScript Tag Tutorial: How to Use <script> in HTML for Interactive Web Pages Step-by-Step
By Pramod Behera · Updated: September 16, 2026 · 19 min read
- Master HTML <script> Tag: Complete Guide
- Quick Recap: How HTML and JavaScript Work Together
- Where Does the <script> Tag Go?
- Inline vs Internal vs External JavaScript
- Practical Examples and Working of HTML with JavaScript
- Tag & Attribute Breakdown
- Comparing Script Loading Strategies
- Debugging JavaScript with console.log
- Understanding onclick and Event Attributes
- The DOM and document.getElementById() Explained
- Real-World Uses of JavaScript in HTML
- Where jQuery and Modern Frameworks Fit In
- Why JavaScript Matters for SEO and Accessibility
- Common Mistakes to Avoid
- Best Practices Checklist
- Try It Yourself – Live Code Preview
- Practice Exercises
- Frequently Asked Questions
✅ Master HTML <script> Tag: How to Use JavaScript for Dynamic and Interactive Websites | HTML JavaScript Tag: Complete Guide
🟡HTML and JavaScript is a common combination where JavaScript is used to add interactivity and dynamic behavior to HTML pages follow examples our tutorial. It can respond to user (devloper) actions like clicks, form submissions, and more. HTML creates the structure, while JavaScript makes it functional...
If you have followed this HTML tutorial series from the beginning, you have already learned how to structure a page with tags, style it with attributes like class and id, and embed external content with iframe. The <script> tag is where HTML stops being purely static and starts becoming genuinely interactive. Every button that reacts to a click, every form that validates itself before submitting, and every page element that updates without a full reload is powered by JavaScript running inside, or linked through, a <script> tag.
It helps to think of the four examples further down this page as a small, deliberate progression rather than four unrelated demos. Example 1 shows the absolute minimum needed to run any JavaScript at all. Example 2 introduces the idea of targeting one specific element by its id and changing what it displays. Example 3 combines two inputs, a function, and some basic math into something that actually behaves like a tiny application. Example 4 shows JavaScript reaching outside your own code entirely, into a built-in browser feature, the Date object, to produce information your HTML alone could never generate on its own.
Quick Recap: How HTML and JavaScript Work Together
Across this series, HTML has always played the role of structure: headings, paragraphs, tables, and links that describe what content exists on a page. CSS, covered separately in other tutorials, controls how that content looks. JavaScript, introduced through the <script> tag, is the third pillar — it controls how the page behaves. A button by itself, written in plain HTML, does nothing when clicked except perhaps submit a form; wiring an onclick attribute or a script-based event listener to that button is what actually makes something happen.
Where Does the <script> Tag Go?
A <script> tag can technically be placed inside the <head> or anywhere inside the <body>, and HTML allows any number of <script> tags on a single page. In practice, placing scripts right before the closing </body> tag is the most common recommendation, because it allows the browser to parse and display all of the visible HTML first, before it has to stop and download or execute any JavaScript. This small ordering decision can noticeably improve how quickly a page feels ready to a visitor, especially on a slower connection. On a page with a large hero image, a long article, and only a small amount of interactive behaviour at the bottom, this one habit alone is often the single biggest, easiest performance win a beginner can make without touching a single line of the actual JavaScript logic.
Inline vs Internal vs External JavaScript
JavaScript can reach an HTML page in three different ways, and every example on this page uses at least one of them. Inline JavaScript sits directly inside an attribute, such as the onclick="alert('Hello!')" seen in Example 1 below. Internal JavaScript sits inside a <script> block written directly in the HTML file, as seen in the calculator and date examples further down. External JavaScript lives in its own separate .js file and is pulled in with <script src="app.js"></script>, which is the approach most real-world websites use once their JavaScript grows beyond a few lines, since it keeps the code reusable across multiple pages and easier to maintain.
✅ Practical examples and working of HTML with JavaScript:-👇
✅ Example 1: Button Click Alert:-👇
<!DOCTYPE html>
<html>
<body>
  <button onclick="alert('Hello!')">Click Me</button>
</body>
</html>This is the simplest possible example of inline JavaScript: the onclick attribute is placed directly on the button element, and its value, alert('Hello!'), is a small piece of JavaScript that runs the moment the button is clicked. No separate script block is needed at all, which makes onclick a quick way to see JavaScript working, though larger projects generally move this kind of logic into a proper <script> block or external file instead.
✅ Example 2: Change Text with JavaScript -👇
<!DOCTYPE html>
<html>
<body>
  <p id="demo">Original Text</p>
  <button onclick="document.getElementById('demo').innerHTML = 'Text Changed!'">Change Text</button>
</body>
</html>
Original Text
Here, the paragraph is given id="demo" so that JavaScript has a precise way to find it. Clicking the button runs document.getElementById('demo').innerHTML = 'Text Changed!', which looks up that exact paragraph by its id and overwrites its innerHTML property with new text. This id-plus-JavaScript pattern is exactly the same technique covered in this series' dedicated tutorial on the id attribute, and it is the foundation of almost every dynamic text update you will ever write.
✅ Example 3: Simple Calculator (Addition) -👇
<!DOCTYPE html>
<html>
<body>
  <input type="number" id="num1">
  <input type="number" id="num2">
  <button onclick="add()">Add</button>
  <p id="result"></p>
  <script>
    function add() {
      let a = parseFloat(document.getElementById("num1").value);
      let b = parseFloat(document.getElementById("num2").value);
      document.getElementById("result").innerHTML = "Sum: " + (a + b);
    }
  </script>
</body>
</html>This example is the first one on this page to use an internal <script> block rather than a single inline attribute, and it introduces a genuine JavaScript function, add(). Inside the function, parseFloat() converts each input's text value into an actual number, since values read from an <input> are always strings by default, and adding two strings together with + would join them as text ("2" + "3" becomes "23") rather than perform real addition. Once both values are properly parsed as numbers, the + operator adds them correctly, and the result is written into the result paragraph the same way Example 2 changed its text.
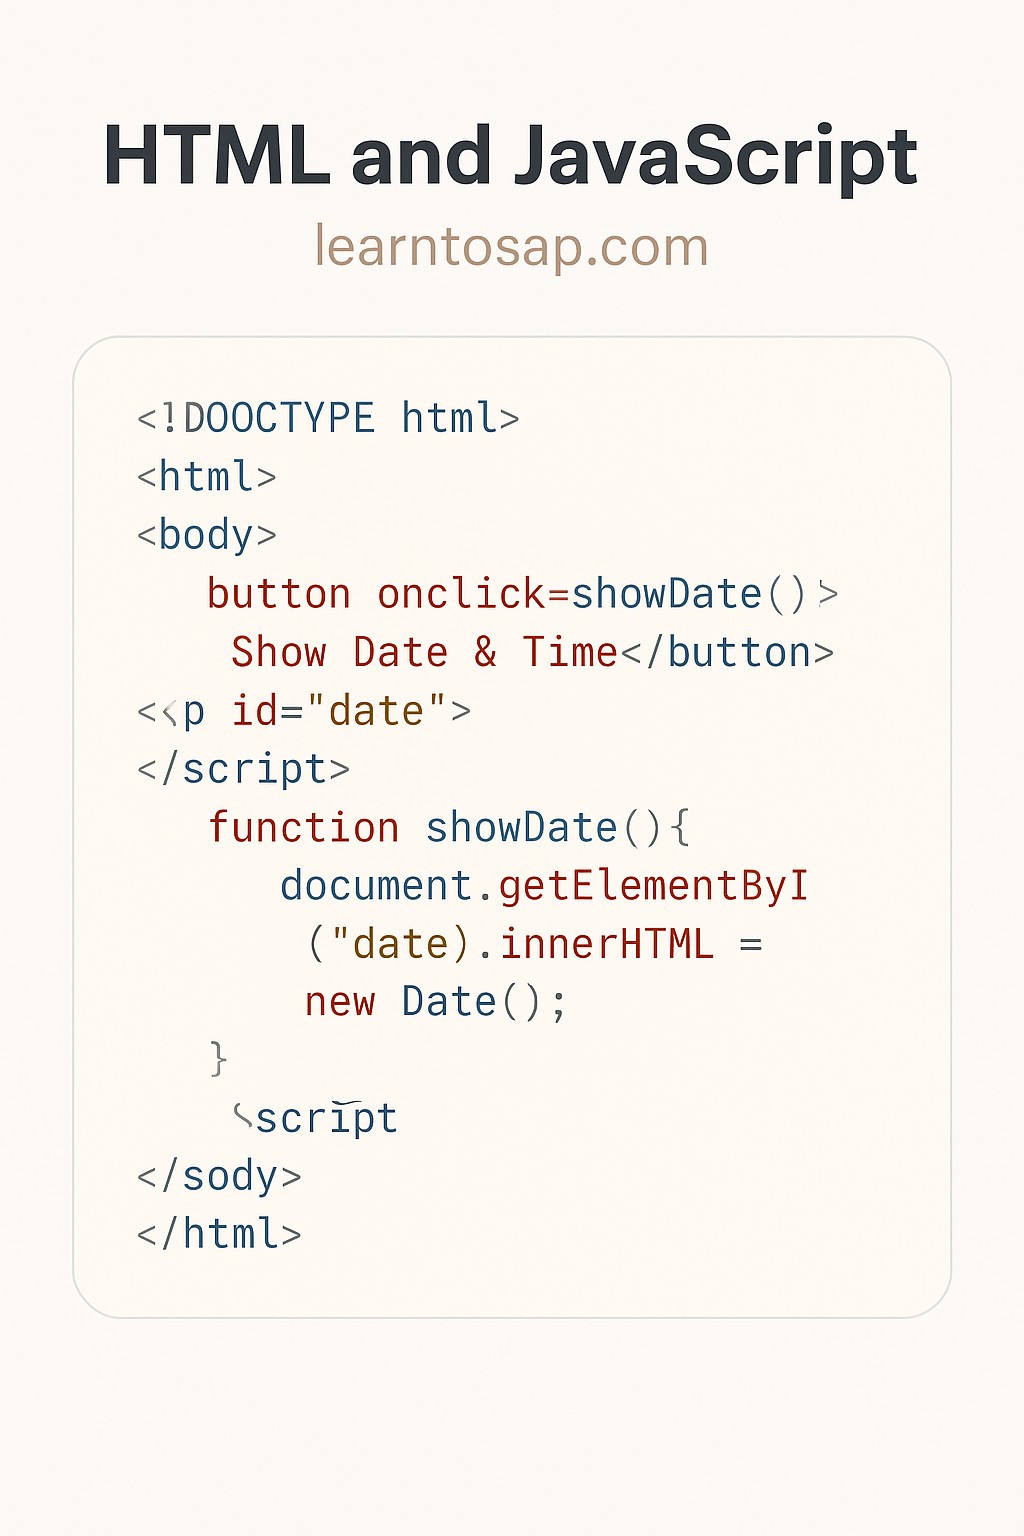
✅ Example 4: Show Date and Time -👇
<!DOCTYPE html>
<html>
<body>
  <button onclick="showDate()">Show Date & Time</button>
  <p id="date"></p>
  <script>
    function showDate() {
      document.getElementById("date").innerHTML = new Date();
    }
  </script>
</body>
</html>The final example introduces JavaScript's built-in Date object. Calling new Date() with no arguments creates an object representing the exact current date and time, according to the visitor's own device clock, and writing it into the paragraph's innerHTML displays it instantly, with no server request required. This same new Date() pattern is the starting point behind countdown timers, "last updated" stamps, and timestamped form submissions across the web.
🔍 Tag & Attribute Breakdown
| Attribute / Syntax | Purpose |
|---|---|
| <script>...</script> | Contains internal JavaScript code written directly in the HTML file |
| src="app.js" | Loads JavaScript from a separate external file instead of writing it inline |
| onclick="..." | Runs a small piece of JavaScript directly when the element is clicked |
| async | Downloads an external script in parallel and runs it as soon as it is ready |
| defer | Downloads an external script in parallel but waits to run it until HTML parsing is complete |
| type="module" | Marks a script as a modern JavaScript module, enabling import/export between files |
| document.getElementById() | JavaScript method that finds a single element on the page by its id |
Comparing Script Loading Strategies
Beyond simply choosing internal versus external JavaScript, external scripts specifically can be loaded three different ways, and the difference matters once a page has more than one script or a slow-loading third-party library. A plain <script src="app.js"></script> with no extra attribute is the oldest behaviour: the browser stops parsing the rest of the HTML, downloads the script, runs it completely, and only then continues building the page. This is simple and predictable, but it can visibly delay how quickly a page appears if the script is large or the network is slow.
| Loading Strategy | When It Runs | Best For |
|---|---|---|
| Plain <script src="..."> | Immediately, blocking HTML parsing until it finishes | Small, critical scripts that must run before anything else |
| <script src="..." async> | As soon as the download finishes, in an unpredictable order relative to other scripts | Independent scripts like analytics trackers that do not depend on page content or other scripts |
| <script src="..." defer> | After HTML parsing is complete, in the exact order the tags appear | Scripts that need the full page structure to already exist, and that depend on one another's order |
For most beginner and small-business pages, placing scripts near the end of the <body>, exactly as recommended earlier in this tutorial, achieves a very similar effect to defer without needing to add the attribute at all, which is why that simple placement rule remains the most commonly taught starting point before diving into async and defer specifically.
Debugging JavaScript with console.log
<script>
  function add() {
    let a = parseFloat(document.getElementById("num1").value);
    let b = parseFloat(document.getElementById("num2").value);
    console.log("a is:", a, "b is:", b);
    document.getElementById("result").innerHTML = "Sum: " + (a + b);
  }
</script>
When a script silently does the wrong thing rather than showing an obvious error, console.log() is the single most useful debugging tool available. Adding a console.log() line, as shown above inside the add() function from Example 3, prints the current value of any variable into the browser's developer console, which can be opened with the F12 key or a right-click "Inspect" menu in most browsers. Seeing that a or b is printing as NaN (Not a Number), for instance, immediately points to a missing parseFloat() conversion, turning an invisible bug into an obvious one within seconds.
Understanding onclick and Event Attributes
onclick belongs to a larger family of HTML event attributes — others include onmouseover, onchange, and onsubmit — that all follow the same basic idea: "when this specific thing happens to this element, run this JavaScript." onclick specifically fires when the element it is attached to is clicked (or tapped, on a touchscreen). Every example on this page relies on onclick precisely because a button click is the most natural, obvious trigger for a beginner-friendly demonstration, though the exact same concepts apply to any of HTML's other event attributes once you are ready to explore them.
The DOM and document.getElementById() Explained
Every example above that changes something on the page relies on one core JavaScript concept: the Document Object Model, or DOM. When a browser loads an HTML page, it builds an internal, in-memory representation of every element on that page, and JavaScript's document object is the entry point into that representation. document.getElementById('demo'), used repeatedly above, searches that representation for the one element whose id matches "demo" and hands it back so your code can read or change it — which is exactly why this series' earlier tutorial on the id attribute is such essential groundwork for everything JavaScript does on a page.
Real-World Uses of JavaScript in HTML
- Form validation – checking that required fields are filled in correctly before a form is submitted.
- Interactive UI components – dropdown menus, accordions, tabs, and modals that open and close on click.
- Live calculators and converters – exactly the addition example above, scaled up into tools like unit converters or loan calculators.
- Dynamic content updates – live search suggestions, shopping cart totals, and countdown timers that update without reloading the page.
- Client-side data fetching – pulling fresh data from a server in the background using JavaScript's fetch API, so a page can update itself without a full reload.
Where jQuery and Modern Frameworks Fit In
Everything demonstrated on this page is written in plain, "vanilla" JavaScript using nothing but the browser's built-in document object, which is exactly how JavaScript worked for years before libraries and frameworks became common. jQuery was created to make common tasks, like selecting elements or handling events, shorter to write across different browsers, and it is still found on many older or simpler websites today. More recently, frameworks such as React, Vue, and Angular go a step further, letting developers describe an entire interface as reusable components and letting the framework handle updating the DOM efficiently behind the scenes.
None of this makes the fundamentals on this page any less relevant. A React component's onClick handler and this tutorial's onclick attribute solve exactly the same underlying problem — running code in response to a user action — and document.getElementById(), while less common inside a modern framework, is still exactly what many of those frameworks are doing internally, just wrapped behind a friendlier API. Learning plain JavaScript first, the way this tutorial teaches it, makes every framework built on top of it considerably easier to pick up later.
Why JavaScript Matters for SEO and Accessibility
JavaScript itself does not directly hurt a page's search ranking, but content that only appears after JavaScript finishes running can sometimes be crawled and indexed more slowly than plain HTML that is present from the very first response. For pages where the core message really matters for search visibility, it is generally safer to have that essential text already in the HTML, and use JavaScript to enhance the experience on top of it rather than to generate the only copy of it.
For accessibility, it is worth remembering that not every visitor has JavaScript enabled or working correctly, whether due to browser settings, corporate security policies, or assistive technology quirks. The <noscript> element exists specifically to show alternate content to those visitors, and critical actions, such as submitting a form, should ideally still work even in a no-JavaScript fallback path wherever that is practical.
Common Mistakes to Avoid
❌ Mistake 1 – Calling document.getElementById() before the element exists
A script placed in the <head> that tries to grab an element from later in the <body> before that element has loaded will fail; placing scripts near the end of the body, or waiting for a load event, avoids this.
❌ Mistake 2 – Forgetting to convert input values with parseFloat or parseInt
As Example 3 shows, adding two un-converted input values with + will join them as text instead of adding them as numbers.
❌ Mistake 3 – Overusing inline onclick for complex logic
onclick is great for a one-line demo, but logic beyond a few words is easier to read, debug, and reuse inside a proper <script> block or external file.
❌ Mistake 4 – Loading heavy external scripts in the <head> without async or defer
This can block the page from rendering until the script finishes downloading, making the page feel slow to load.
Best Practices Checklist
✔️ 1) Place scripts near the end of the body when possible
Lets the visible page render before JavaScript has to run.
✔️ 2) Move growing logic into external .js files
Keeps HTML clean and makes the same script reusable across multiple pages.
✔️ 3) Always give elements a clear id before targeting them in JavaScript
Matches the same unique-id principle covered in this series' id attribute tutorial.
✔️ 4) Convert input values before doing math on them
parseFloat() or parseInt() avoids the "string concatenation instead of addition" mistake.
✔️ 5) Provide a sensible fallback for critical actions
Especially for forms, where possible, so visitors without working JavaScript are not completely blocked.
Try It Yourself (Copy This Code and Paste. See how it works)
Live Code Preview
Practice Exercises: Test the HTML <script> Tag
- Write a button with an inline onclick attribute that shows an alert with your own custom message.
- Create a paragraph with an id and a button that changes its text using document.getElementById().innerHTML.
- Build a small subtraction or multiplication calculator by adapting the addition example above.
- Write a function that displays only the current time (not the full date) when a button is clicked.
- Move one of the internal <script> examples above into its own external .js file and link it with the src attribute.
Frequently Asked Questions About the HTML Script Tag (JavaScript)
What is the script tag in HTML?
The script tag is used to add JavaScript code to HTML pages.
Where should I place the script tag?
It is best placed before the closing body tag for better performance.
What is external JavaScript?
External JavaScript is stored in a separate .js file and linked using the script tag.
Can I use multiple script tags?
Yes, multiple script tags can be used in a single HTML document.
What is the difference between async and defer?
async downloads the script in parallel with page parsing and runs it as soon as it arrives, potentially out of order with other scripts, while defer also downloads in parallel but waits to run the script until the HTML has finished parsing, in the order the scripts appear.
Does JavaScript affect SEO?
JavaScript itself does not directly hurt SEO, but content that only appears after JavaScript runs can sometimes be indexed more slowly than plain HTML, so critical text content is often best rendered in the initial HTML when possible.