CSS Selectors – All Types Explained with Examples And Live Preview (2026-27)
CSS selectors are patterns used to select and target the HTML elements you want to style. Every CSS rule starts with a selector — without it, CSS has nothing to apply to. There are many types of CSS selectors, from the simple element selector (targets all <h1> tags) to powerful pseudo-class selectors (:hover, :focus) and attribute selectors (input[type='text']). Knowing which selector to use — and when — is one of the most important skills in CSS. In this beginner-friendly guide you will learn all 10 CSS selector types with live code examples, a complete reference table, specificity rules, interactive playground, and a quiz to test your knowledge.
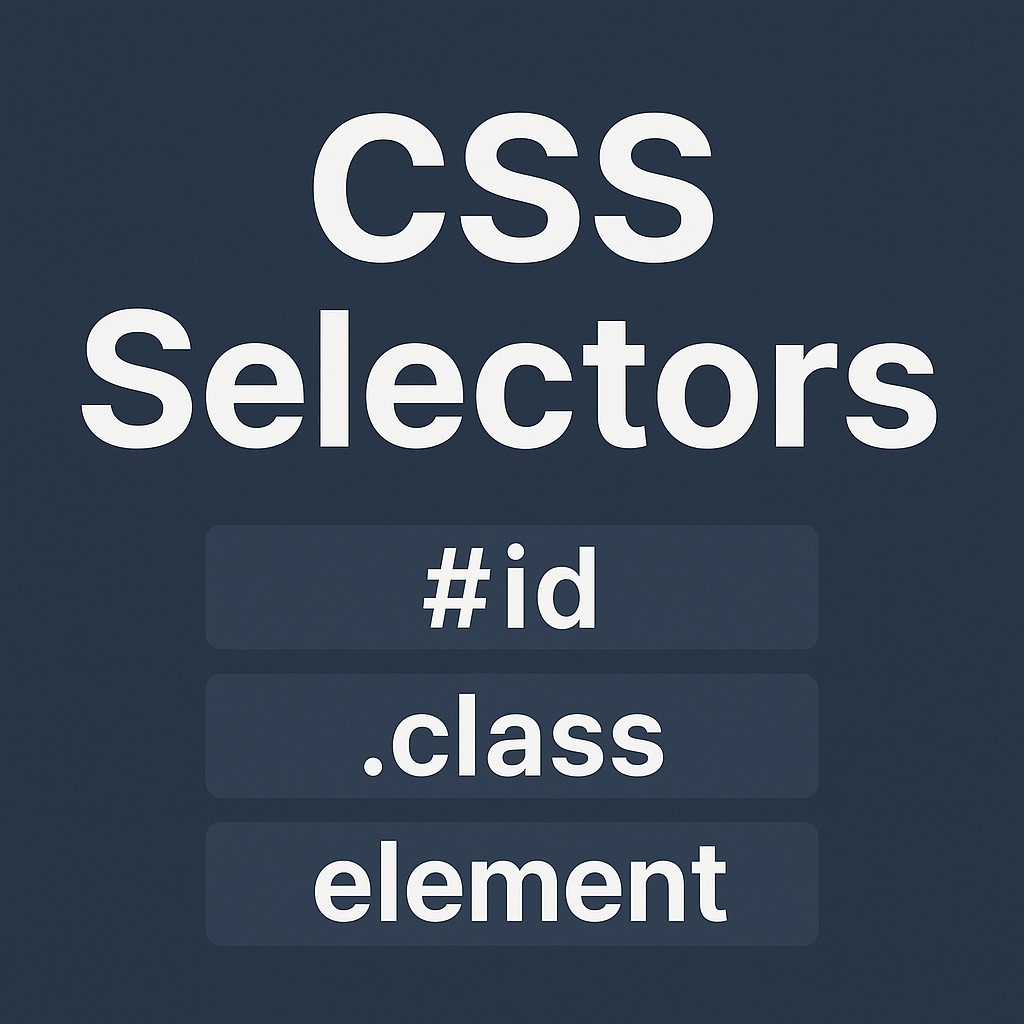

✅ What is a CSS Selector?
A CSS selector is the first part of a CSS rule — it defines which HTML element(s) the style should be applied to. It is written before the opening curly brace {.
✅ Without a selector, CSS cannot know where to apply the styles.
✅ Selectors can target all elements of a type, elements with a specific class or ID, elements in a specific state, or even virtual parts of elements.
✅ All CSS Selector Types – Overview
p { color: red; }.btn { padding: 10px; }#nav { display: flex; }* { margin: 0; }h1, h2 { color: navy; }nav a { color: blue; }ul > li { list-style: none; }a:hover { color: red; }p::first-line { }✅ 1. Element Selector
The element selector targets all HTML elements of a specific tag type. It is the simplest selector and is written as just the tag name.
✅ Syntax:-
/* Targets ALL p elements on the page */
p {
  color: #333;
  font-size: 16px;
  line-height: 1.8;
}

/* Targets ALL h1 elements */
h1 {
  color: #1E3A5F;
  font-size: 32px;
  font-weight: bold;
}

/* Targets ALL anchor links */
a {
  color: #0EA5E9;
  text-decoration: none;
}p { font-size: 14px; } changes ALL paragraphs site-wide. Use class selectors when you only want to target specific paragraphs.
✅ 2. Class Selector (.classname)
The class selector targets all elements with a specific class attribute. It starts with a dot (.) followed by the class name. Classes are the most commonly used selector in real CSS projects.
✅ Syntax:-
/* CSS — class selector with . prefix */
.highlight {
  background: yellow;
  padding: 2px 6px;
}

.btn-primary {
  background: #0EA5E9;
  color: #fff;
  padding: 10px 24px;
  border-radius: 6px;
  border: none;
}
✅ HTML using class:-
<p>This word is <span class="highlight">highlighted</span>.</p>
<button class="btn-primary">Click Me</button>
<a href="#" class="btn-primary">I am also a button</a>✅ Class names are case-sensitive —
.Btn ≠ .btn✅ One element can have multiple classes —
class="btn btn-primary large"✅ Same class can be applied to multiple elements — reusable
✅ Class names should be descriptive and lowercase —
.nav-link not .NL
✅ 3. ID Selector (#idname)
The ID selector targets the one element with a specific id attribute. It starts with a hash (#) followed by the ID name. IDs must be unique — only one element per page should have a given ID.
✅ Syntax:-
/* CSS — ID selector with # prefix */
#main-header {
  background: #1E3A5F;
  color: #fff;
  height: 80px;
  padding: 0 24px;
  display: flex;
  align-items: center;
}

#hero-section {
  background: linear-gradient(135deg, #F0F9FF, #E0F2FE);
  padding: 80px 40px;
  text-align: center;
}
✅ HTML using ID:-
<header id="main-header">
  <h1>LearnToSAP.com</h1>
</header>

<section id="hero-section">
  <h2>Learn CSS Step by Step</h2>
</section>✅ 4. Universal Selector (*)
The universal selector (*) targets every element on the page. It is most commonly used in CSS resets to remove default browser styles.
✅ Example:-
/* CSS reset — remove all default margins and padding */
* {
  margin: 0;
  padding: 0;
  box-sizing: border-box;
}

/* Reset combined with child selector */
.card * {
  font-family: Arial, sans-serif;
  color: #333;
}✅ 5. Group Selector (A, B)
The group selector applies the same CSS rule to multiple selectors at once by separating them with commas. This is the DRY (Don't Repeat Yourself) approach to CSS.
✅ Without grouping (repetitive):-
h1 { color: #1E3A5F; font-family: Arial, sans-serif; }
h2 { color: #1E3A5F; font-family: Arial, sans-serif; }
h3 { color: #1E3A5F; font-family: Arial, sans-serif; }
✅ With grouping (clean and DRY):-
/* One rule for three selectors */
h1, h2, h3 {
  color: #1E3A5F;
  font-family: Arial, sans-serif;
}

/* Mix elements and classes */
input, textarea, select {
  border: 1px solid #ddd;
  padding: 8px 12px;
  border-radius: 4px;
  width: 100%;
  box-sizing: border-box;
}
✅ 6. Descendant & Child Selectors
These selectors target elements based on their position inside another element.
| Selector | Symbol | What it selects | Example |
|---|---|---|---|
| Descendant | A B (space) | All B inside A (any depth) | nav a { } |
| Child | A > B | Direct children B of A only | ul > li { } |
| Adjacent Sibling | A + B | First B immediately after A | h1 + p { } |
| General Sibling | A ~ B | All B that follow A | h1 ~ p { } |
✅ Examples:-
/* Descendant: all links inside nav */
nav a {
  color: #0EA5E9;
  text-decoration: none;
}

/* Child: only direct li inside ul */
ul > li {
  list-style: none;
  padding: 8px 0;
}

/* Adjacent sibling: p right after h2 */
h2 + p {
  font-size: 16px;
  color: #666;
  margin-top: 0;
}
✅ 7. Pseudo-class Selectors (:hover :focus :nth-child)
A pseudo-class targets an element in a specific state — like when a user hovers over it, clicks it, or when it is the first element in a list. Written with a single colon (:).
✅ Most Common Pseudo-classes:-
/* Hover state — mouse over element */
a:hover {
  color: #0284C7;
  text-decoration: underline;
}

button:hover {
  background: #0284C7;
  transform: translateY(-1px);
}

/* Focus state — form element is active */
input:focus {
  border-color: #0EA5E9;
  outline: none;
  box-shadow: 0 0 0 3px rgba(14,165,233,0.2);
}

/* First and last child */
li:first-child { font-weight: bold; }
li:last-child  { border-bottom: none; }

/* Nth child — target specific positions */
tr:nth-child(even) { background: #F0F9FF; } /* alternating rows */
tr:nth-child(odd)  { background: #fff; }

/* Not selector */
p:not(.special) { color: #444; } /* all p except .special */| Pseudo-class | What it targets |
|---|---|
:hover | Element when mouse is over it |
:focus | Element when it has keyboard/click focus |
:active | Element while being clicked |
:visited | Link that has been visited |
:first-child | First child of its parent |
:last-child | Last child of its parent |
:nth-child(n) | The nth child (even, odd, or number) |
:not(selector) | Every element that does NOT match selector |
:checked | Checked checkbox or radio button |
:disabled | Disabled form element |
:placeholder-shown | Input with visible placeholder text |
✅ 8. Pseudo-element Selectors (::before ::after)
A pseudo-element targets a virtual part of an element — content that doesn't physically exist in the HTML but can be styled with CSS. Written with a double colon (::).
✅ Most Used Pseudo-elements:-
/* ::before — insert virtual content before the element */
.quote::before {
  content: '"';
  color: #0EA5E9;
  font-size: 40px;
  font-weight: bold;
  line-height: 0;
  vertical-align: -15px;
  margin-right: 4px;
}

/* ::after — insert virtual content after the element */
.required-field::after {
  content: ' *';
  color: red;
  font-weight: bold;
}

/* ::first-line — style the first line of text only */
p::first-line {
  font-weight: bold;
  color: #1E3A5F;
}

/* ::first-letter — style the first letter only */
p::first-letter {
  font-size: 3em;
  float: left;
  color: #0EA5E9;
  margin-right: 4px;
  line-height: 0.8;
}

/* ::placeholder — style placeholder text in inputs */
input::placeholder {
  color: #aaa;
  font-style: italic;
}✅ 9. Attribute Selectors ([attr=value])
Attribute selectors target elements based on their HTML attributes and attribute values. They use square brackets [ ].
✅ Examples:-
/* Exact match — input where type equals "text" */
input[type="text"] {
  border: 1px solid #ddd;
  padding: 8px;
  border-radius: 4px;
}

/* Has attribute — images that have an alt attribute */
img[alt] {
  border: 2px solid #d4edda; /* green border = accessible */
}

/* Starts with — links to external sites (https) */
a[href^="https"] {
  color: #2e7d32; /* green for secure links */
}

/* Ends with — links to PDF files */
a[href$=".pdf"] {
  color: #c0392b;
}
a[href$=".pdf"]::after {
  content: " 📄";
}

/* Contains — any element where class contains "btn" */
[class*="btn"] {
  cursor: pointer;
  border-radius: 6px;
}

/* Language attribute */
[lang="en"] {
  font-family: Arial, sans-serif;
}| Selector | Matches when... | Example |
|---|---|---|
[attr] | Element has the attribute (any value) | img[alt] |
[attr="val"] | Attribute equals exactly "val" | input[type="text"] |
[attr^="val"] | Attribute value starts with "val" | a[href^="https"] |
[attr$="val"] | Attribute value ends with "val" | a[href$=".pdf"] |
[attr*="val"] | Attribute value contains "val" | [class*="btn"] |
[attr~="val"] | Attribute is a space-separated list containing "val" | [class~="active"] |
✅ Class vs ID – Key Differences
| Feature | Class (.classname) | ID (#idname) |
|---|---|---|
| Syntax in CSS | .btn | #header |
| Syntax in HTML | class="btn" | id="header" |
| Reusability | ✅ Can be used on many elements | ❌ Must be unique per page |
| Multiple per element | ✅ Yes — class="a b c" | ❌ Only one ID per element |
| Specificity | 0,1,0 (medium) | 1,0,0 (high) |
| JavaScript targeting | getElementsByClassName() | getElementById() |
| Best for | Reusable components, utility styles | Page landmarks, JS hooks |
#main-header) or as a JavaScript target. Overusing IDs in CSS leads to specificity wars that are hard to override.
✅ Selector Specificity
When multiple CSS rules target the same element, specificity determines which rule wins. Higher specificity = rule takes priority.
| Selector Type | Specificity Score | Example | Points |
|---|---|---|---|
!important | Overrides everything | color: red !important | ∞ |
| Inline style | 1,0,0,0 | style="color:red" | 1000 |
| ID selector | 0,1,0,0 | #nav | 100 |
| Class / attribute / pseudo-class | 0,0,1,0 | .btn, [type], :hover | 10 |
| Element / pseudo-element | 0,0,0,1 | h1, p, ::before | 1 |
| Universal selector | 0,0,0,0 | * | 0 |
✅ Specificity calculation examples:-
p              /* 0,0,0,1 = score:   1 — element */
.text          /* 0,0,1,0 = score:  10 — class   */
#main          /* 0,1,0,0 = score: 100 — ID      */
p.text         /* 0,0,1,1 = score:  11 — element + class */
#main p.text /* 0,1,1,1 = score: 111 — ID + element + class */✅ Complete CSS Selector Reference Table
| Selector | Type | What it selects | Example |
|---|---|---|---|
* | Universal | All elements | * { box-sizing: border-box; } |
element | Element | All elements of tag type | p { color: #333; } |
.class | Class | All with class attribute | .btn { padding: 10px; } |
#id | ID | One element with unique ID | #header { height: 80px; } |
A, B | Group | Both A and B | h1, h2 { font-family: Arial; } |
A B | Descendant | B inside A (any depth) | nav a { color: blue; } |
A > B | Child | Direct children B of A | ul > li { list-style: none; } |
A + B | Adjacent sibling | First B right after A | h1 + p { margin-top: 0; } |
A ~ B | General sibling | All B after A | h1 ~ p { color: #555; } |
:hover | Pseudo-class | On mouse over | a:hover { color: red; } |
:focus | Pseudo-class | On keyboard/click focus | input:focus { outline: 2px solid blue; } |
:nth-child(n) | Pseudo-class | Nth child element | tr:nth-child(even) { background: #f5f5f5; } |
:not(sel) | Pseudo-class | Not matching sel | p:not(.special) { font-size: 14px; } |
::before | Pseudo-element | Virtual content before element | .icon::before { content: '★'; } |
::after | Pseudo-element | Virtual content after element | .req::after { content: ' *'; color: red; } |
::placeholder | Pseudo-element | Input placeholder text | input::placeholder { color: #aaa; } |
[attr] | Attribute | Has attribute (any value) | img[alt] { border: 1px solid green; } |
[attr="val"] | Attribute | Exact attribute value | input[type="text"] { } |
[attr^="val"] | Attribute | Attribute starts with val | a[href^="https"] { } |
[attr$="val"] | Attribute | Attribute ends with val | a[href$=".pdf"] { } |
[attr*="val"] | Attribute | Attribute contains val | [class*="btn"] { cursor: pointer; } |
✅ ✏️ Live Interactive CSS Selectors Playground
Edit the HTML and CSS below and see the result instantly in the live preview. Try all the preset examples to see each selector type in action!
p to .highlight to #special and see how each targets different elements!
🧠 CSS Selectors – Yes/No Knowledge Check
Answer each question with Yes (True) or No (False). See your score at the end!
.btn { }.a:hover, while pseudo-elements use double colon (::) like p::first-line.nav a (space between) targets ONLY direct children of nav, not deeply nested links.a[href^="https"] targets all links whose href attribute STARTS WITH "https".✅ Common CSS Selector Mistakes to Avoid
Wrong:
btn { background: blue; } — targets a non-existent HTML <btn> tag.Correct:
.btn { background: blue; } — the dot is required for class selectors.
Wrong: Two elements both with
id="header" — invalid HTML, causes JavaScript errors.Correct: Use
class="header" for repeated elements and id only for unique landmarks.
IDs have very high specificity (100 points) — this creates specificity wars that are hard to override without
!important. Default to classes for CSS; use IDs only for JavaScript or page landmarks.
nav a (space) targets ALL links inside nav — even deeply nested ones.nav > a (>) targets ONLY direct children links of nav. Use > when you need to be precise.
Old syntax:
p:before (works in old browsers).Modern correct:
p::before — always use double colon (::) for pseudo-elements in modern CSS.
✅ Frequently Asked Questions (FAQ)
h1 { color: blue; } — here 'h1' is the selector targeting all h1 elements.a:hover (mouse over), input:focus (focused), li:first-child (first list item). They react to user interaction or document structure without modifying HTML.a:hover. Pseudo-element (double colon ::) targets a specific PART of an element — like p::first-line (first line of text) or div::before (virtual content before the element).input[type='text'] targets only text inputs; a[href^='https'] targets secure links; a[href$='.pdf'] targets PDF links. Very useful for form styling and link targeting.